Anxiety and depression are among the most common mental health challenges today. Millions of people search online for natural solutions like yoga for anxiety and depression, yoga for stress and anxiety relief, and yoga for anxiety and panic attacks because they want effective, holistic approaches without relying solely on medication.
Scientific research increasingly supports what yogis have known for centuries: yoga is a powerful mind-body practice that can significantly reduce symptoms of anxiety, depression, and panic attacks. By combining physical movement, breath control, and mindfulness, yoga helps regulate the nervous system and restore emotional balance.
How Yoga Affects the Brain and Nervous System
When someone experiences anxiety or panic attacks, the body activates the “fight or flight” response. Stress hormones like cortisol and adrenaline rise, heart rate increases, and breathing becomes shallow.
Yoga counteracts this response through the following:
- Controlled breathing (pranayama)
- Gentle stretching and movement
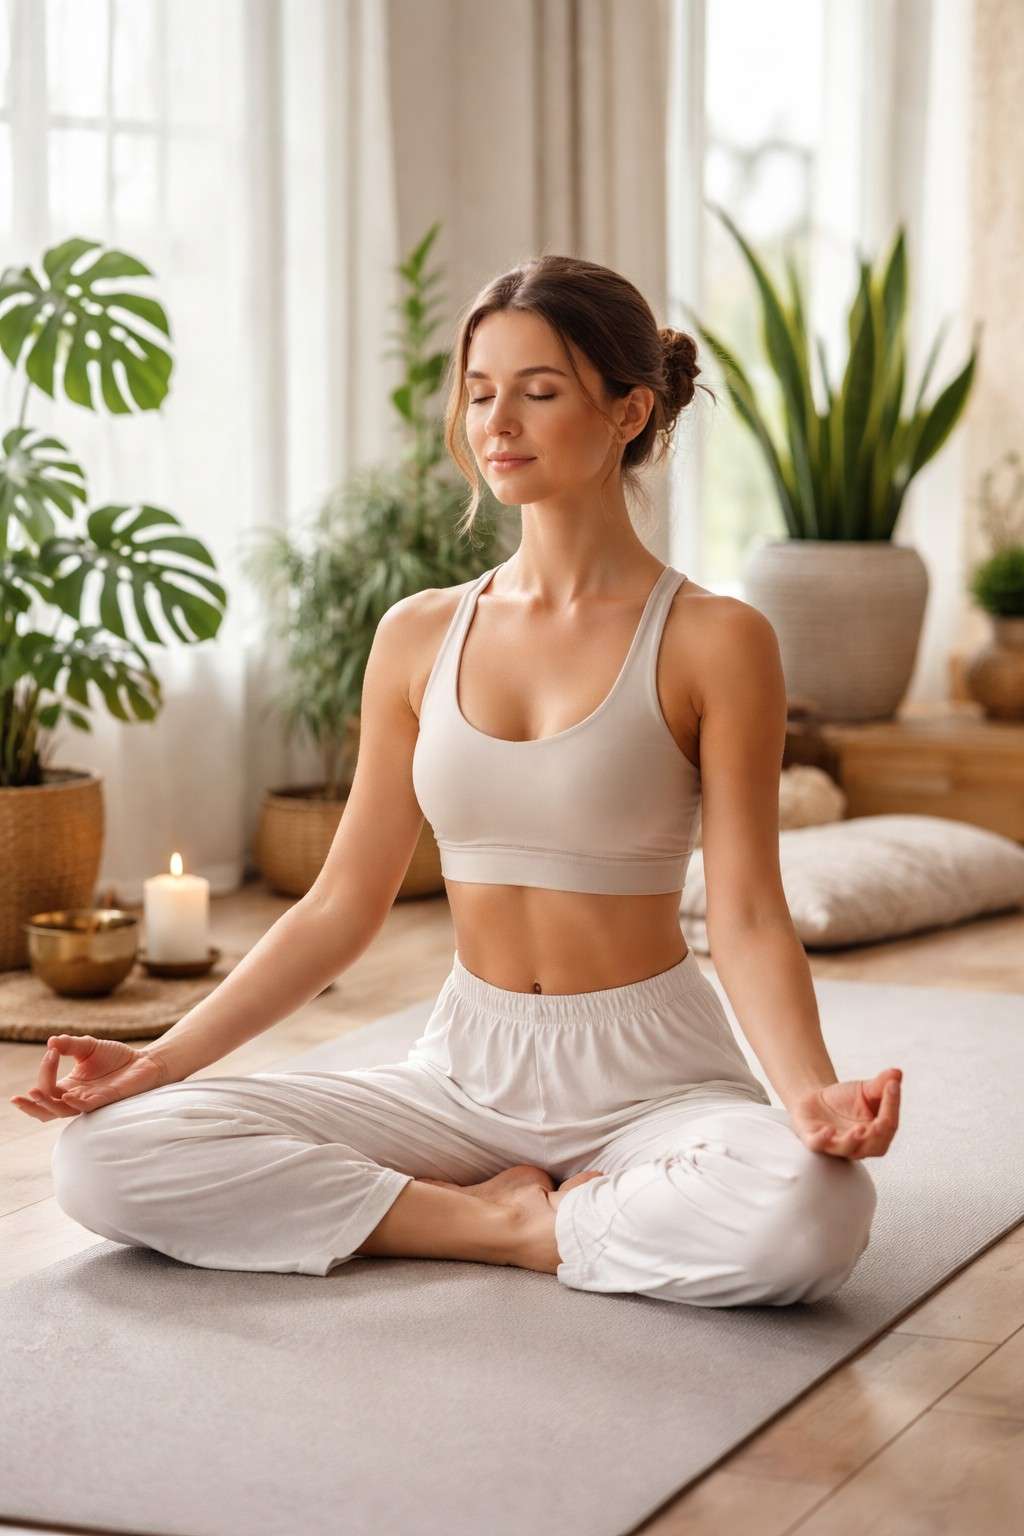
- Mindfulness and meditation
- Nervous system regulation
Studies show that regular yoga practice increases gamma-aminobutyric acid (GABA), a neurotransmitter linked to improved mood and reduced anxiety. It also lowers cortisol levels, helping the body shift from a stress response to a relaxation response.
This is why many mental health professionals now recommend yoga for anxiety and depression for beginners as a complementary therapy.
Yoga for Anxiety and Panic Attacks
One of the fastest-growing searches online is Yoga for anxiety and panic attacks. During a panic attack, breathing becomes rapid and shallow, which worsens symptoms. Yoga breathing techniques slow the breath and signal safety to the brain.
Effective practices include:
- Diaphragmatic breathing
- Alternate nostril breathing
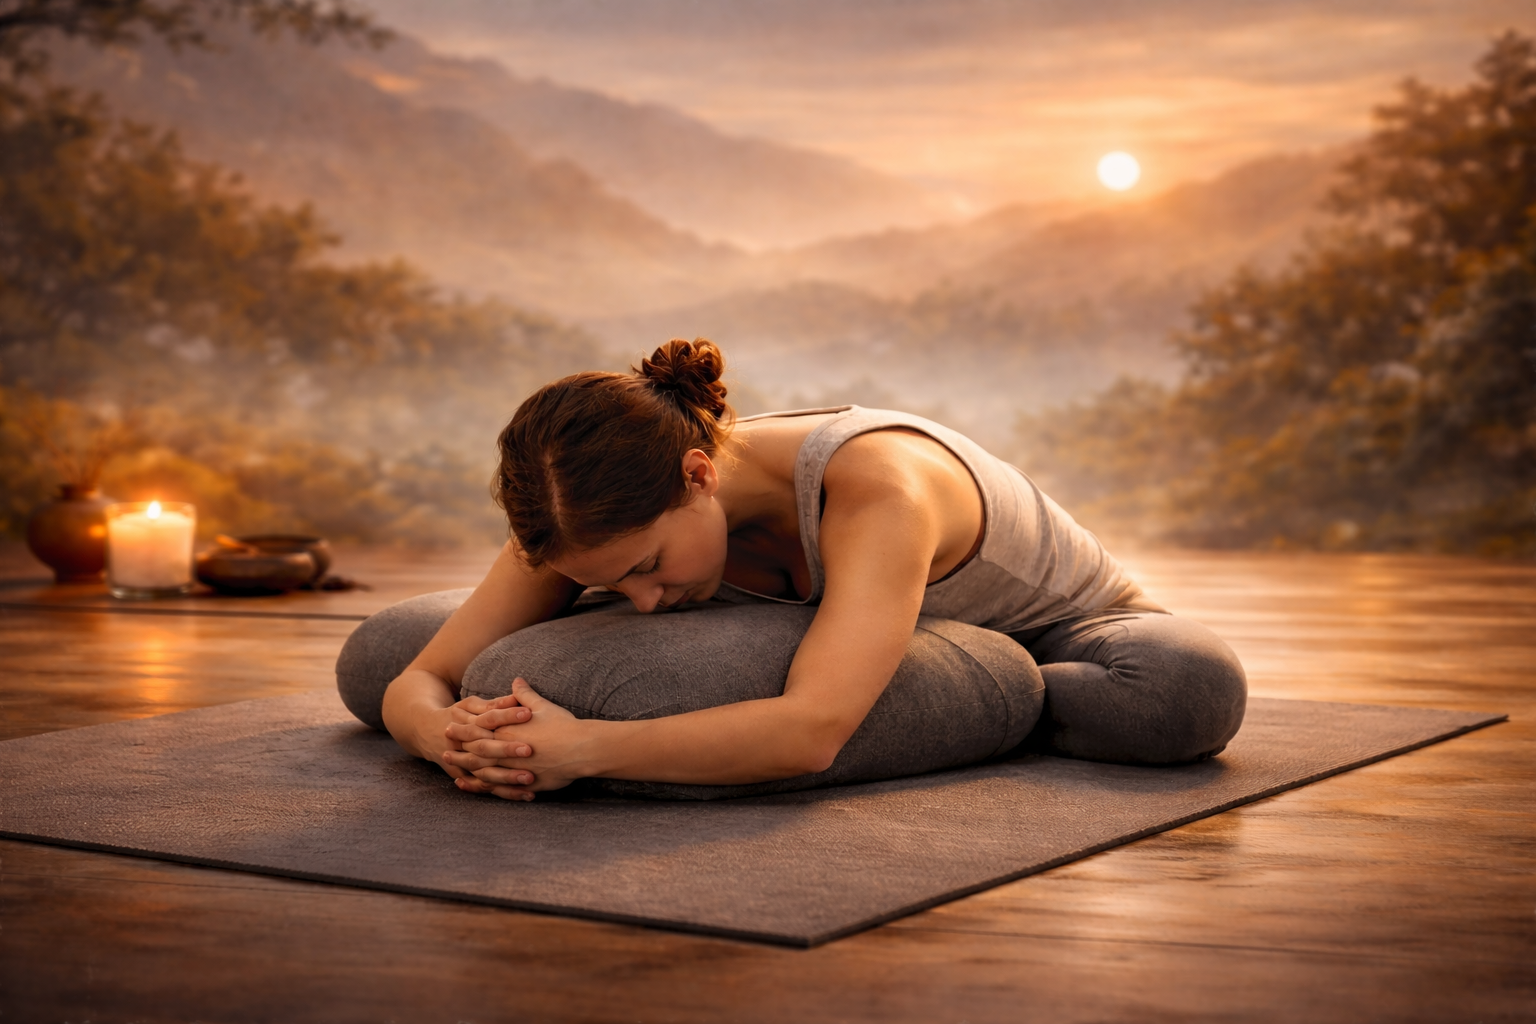
- Child’s Pose with slow breathing
- Seated forward folds
These poses calm the mind and reduce heart rate variability. Over time, consistent practice can reduce the frequency and intensity of panic attacks.
Yoga for Stress and Anxiety Relief
Chronic stress is a major contributor to depression and overthinking. Searches for Yoga for stress and anxiety relief continue to rise as people seek natural ways to manage daily pressure.
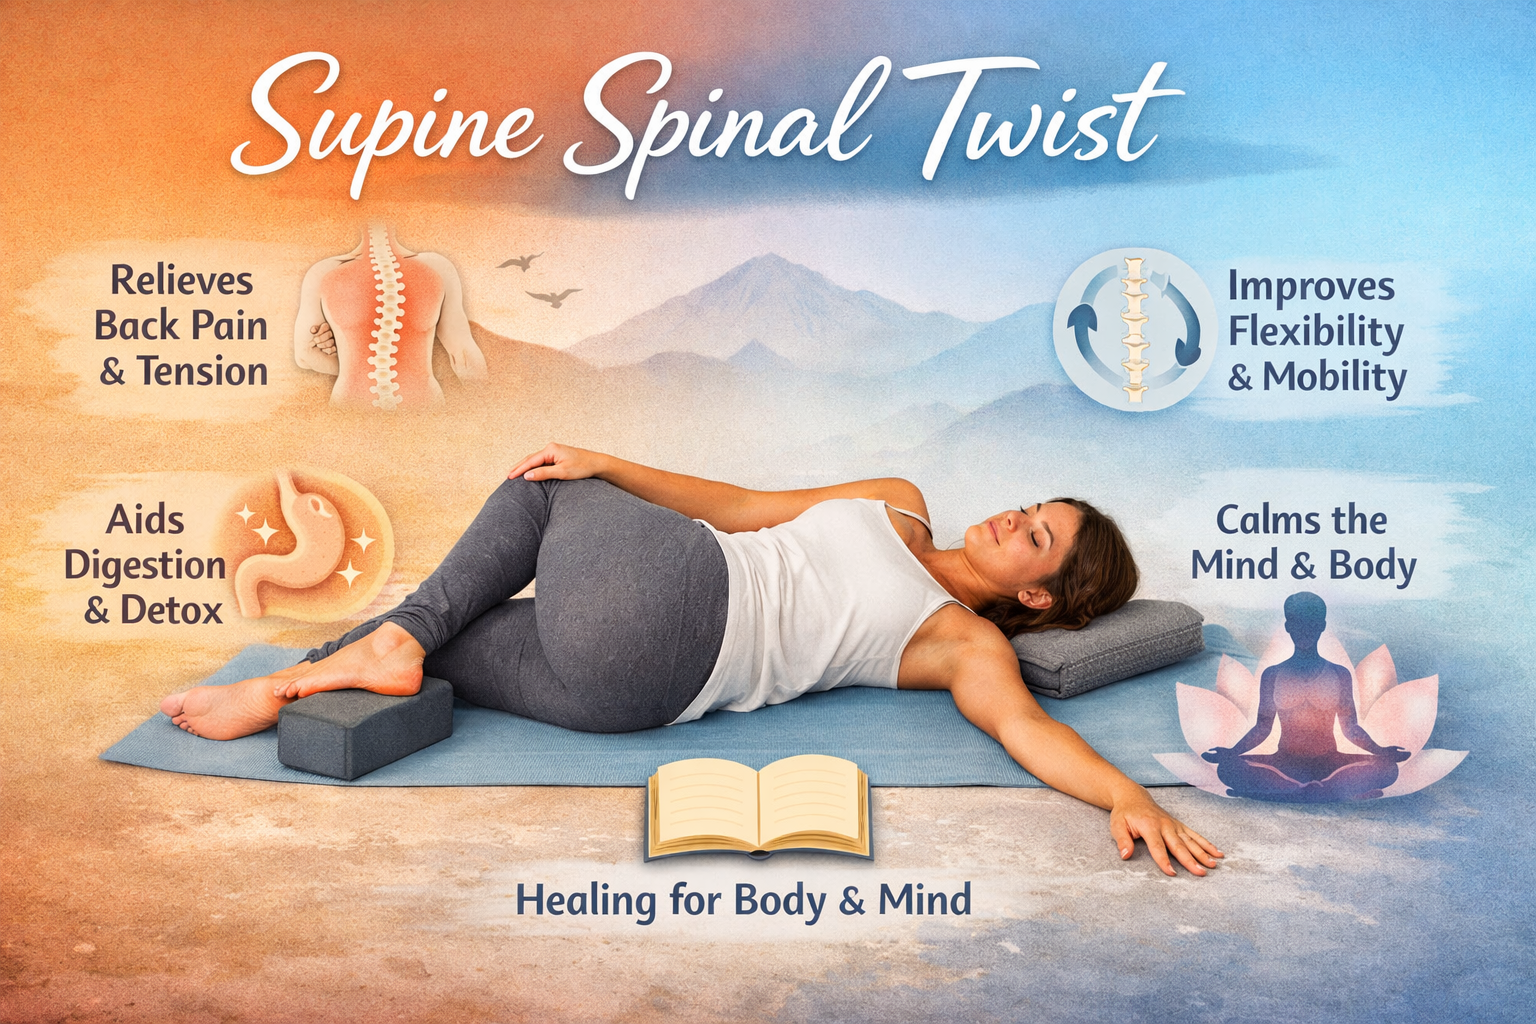
Gentle yoga flows and restorative yoga help release physical tension stored in the shoulders, neck, and back — common areas where stress accumulates. The mind-body connection created through yoga also improves emotional resilience.
People practicing yoga regularly report:
- Improved sleep quality
- Reduced rumination
- Better emotional regulation
- Increased energy levels
Yoga for Anxiety and Overthinking
Overthinking often fuels both anxiety and depression. The constant loop of negative thoughts can feel overwhelming. Yoga interrupts this cycle by anchoring attention to the present moment.
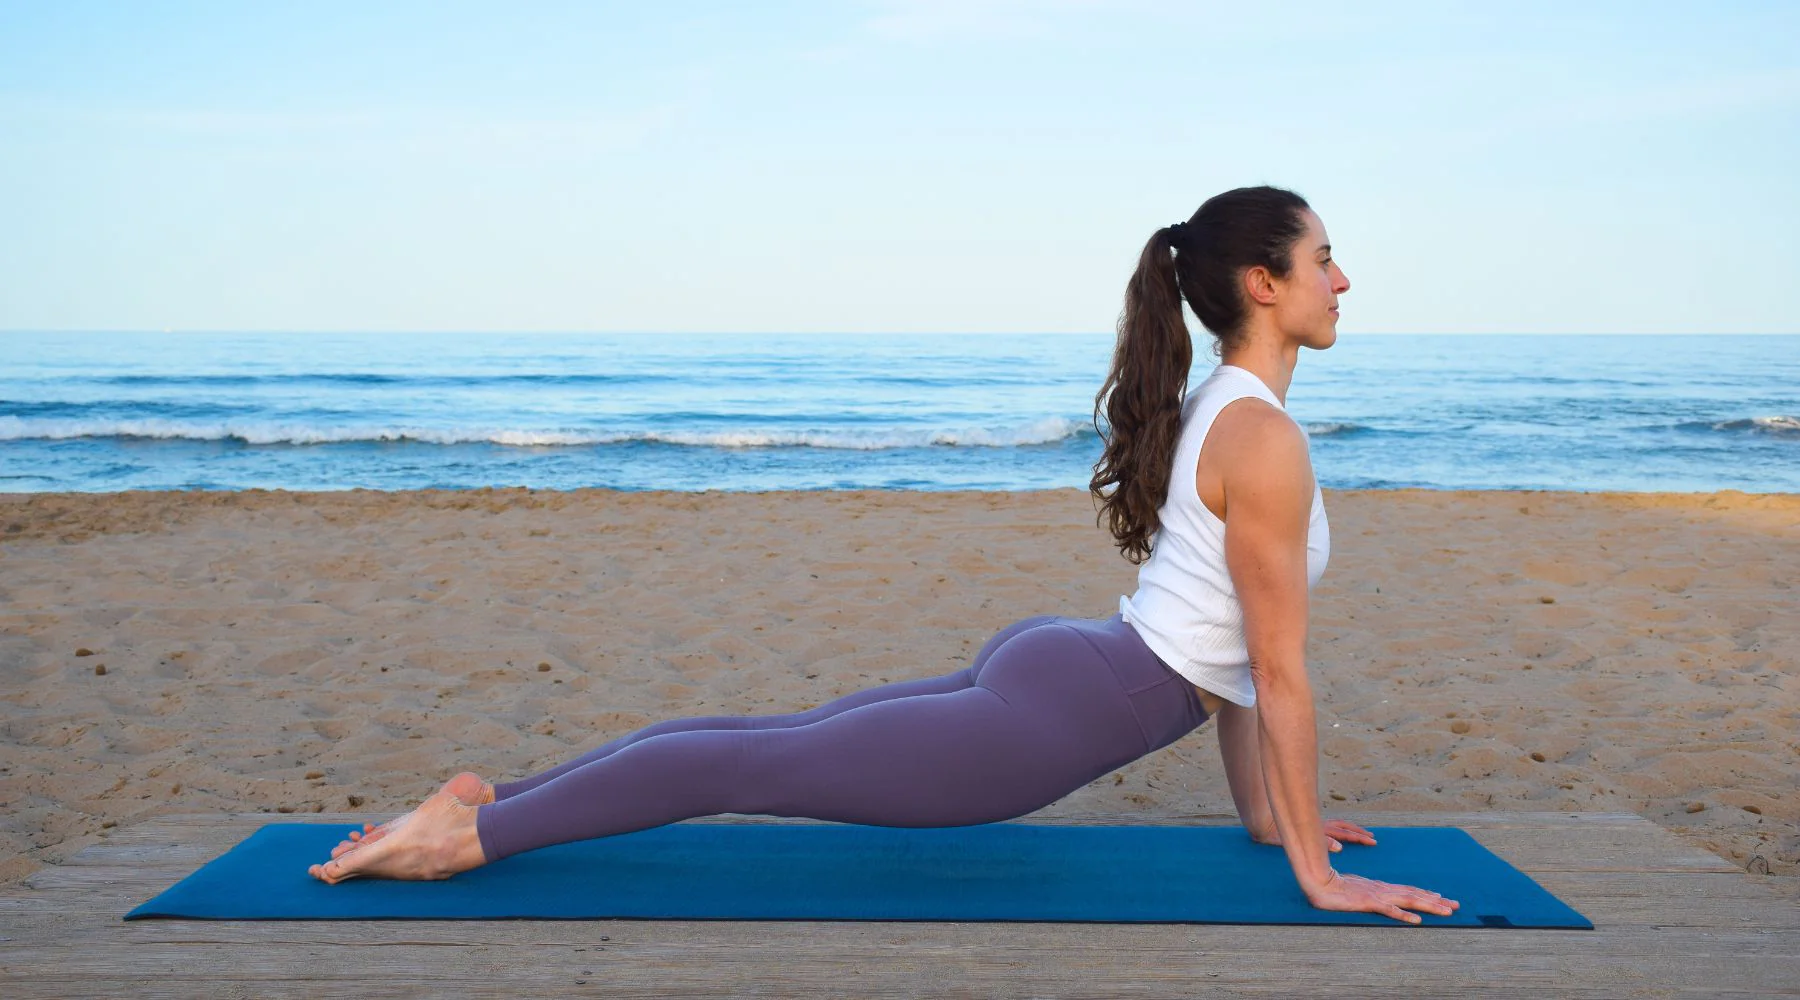
Mindful movement and breath awareness train the brain to focus on sensations rather than intrusive thoughts. Practices like slow Sun Salutations, guided meditation, and grounding poses are particularly effective for Yoga for anxiety and overthinking.
This present-moment awareness reduces mental clutter and enhances clarity.
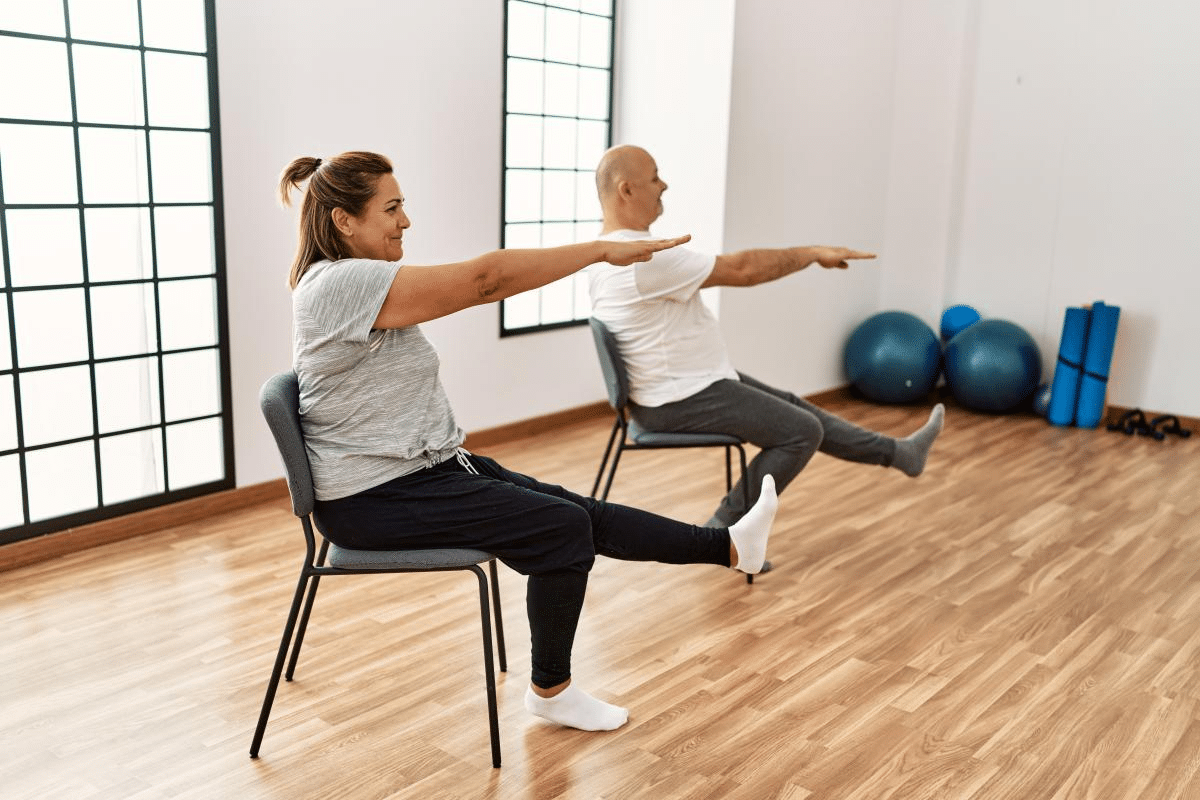
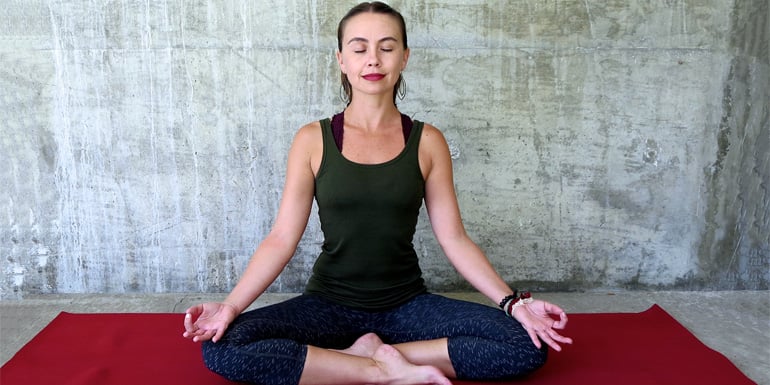
Yoga for Anxiety for Beginners
For those new to yoga, starting gently is essential. Many beginners feel intimidated by advanced poses, but Yoga for anxiety for beginners focuses on simplicity, breath, and comfort.
Tips for beginners:
- Start with 15–20 minutes per session
- Focus more on breathing than flexibility
- Avoid comparing yourself to others
- Choose calm, slow-paced routines
- Practice consistently
The goal is not physical perfection but nervous system balance.
Yoga for Anxiety and Depression YouTube Options
With the rise of online wellness content, searches for Yoga for anxiety and depression YouTube have grown significantly. Online classes provide accessibility and flexibility, allowing individuals to practice from home.
When choosing online sessions, look for:
- Certified instructors
- Trauma-sensitive language
- Slow, guided breathing
- Clear pose explanations
Online access has made yoga more inclusive and available to people across different regions, including those in California seeking structured mental wellness support.
Why Location Matters for Mental Wellness Support
Mental health awareness continues to expand in California, where holistic approaches are increasingly integrated into wellness routines. Community programs, therapy centers, and yoga studios emphasize preventive care and stress management.
However, yoga remains one of the most accessible and affordable self-care tools. Whether practiced at home or in a studio, it empowers individuals to take an active role in their emotional well-being.
Long-Term Benefits of Yoga for Mental Health
The science-backed benefits of yoga extend beyond temporary relaxation. Long-term practitioners often experience:
- Increased serotonin production
- Improved brain plasticity
- Reduced inflammation
- Enhanced mood stability
- Greater self-awareness
Unlike quick fixes, yoga builds sustainable mental strength. It teaches emotional regulation skills that can be applied during stressful situations, work pressure, or personal challenges.
Integrating Yoga Into Daily Life
To experience full benefits, consistency matters more than intensity. Even short daily sessions can make a difference.
Practical ways to integrate yoga include:
- Morning breathing exercises
- Midday stretching breaks
- Evening restorative poses
- Weekly guided sessions
- Mindful meditation before sleep
With structured guidance and professional training from a reputable Yoga education institute, individuals can deepen their understanding and safely incorporate yoga into mental health routines.
Final Thoughts
The growing popularity of Yoga for anxiety and depression reflects a shift toward holistic mental health care. Backed by scientific research, yoga offers a safe, accessible, and effective way to manage anxiety, depression, panic attacks, and overthinking.
By regulating the nervous system, balancing brain chemistry, and promoting mindfulness, yoga provides more than temporary relief — it builds long-term emotional resilience.
For beginners and experienced practitioners alike, yoga remains one of the most powerful natural tools for restoring mental balance in today’s demanding world.